


Managing a horse ranch involves a dynamic array of responsibilities, from ensuring the well-being of these magnificent animals to maintaining the facilities that support them. As the backbone of successful horse rearing, health and nutrition play pivotal roles, while the optimization of ranch infrastructure, particularly air quality, cannot be overstated. Keep reading to uncover essential […]
Recent Post

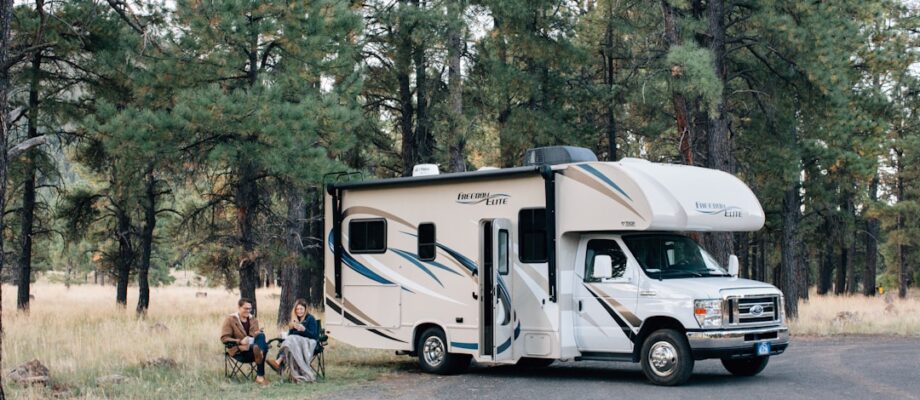
Understanding Extended Warranty Coverage for RVs
Recreational vehicles (RVs) represent not just a mode of transportation, but a significant lifestyle investment for enthusiasts and adventurers alike. Protecting this investment becomes a priority for owners, leading many to consider the benefits of extended warranty coverage. Delving into the specifics of extended warranties can help RV owners make informed decisions about their vehicle’s […]

3 Tips for Hosting a Large Family Reunion
Hosting a family reunion is both a duty and a privilege. It’s a time when relatives from near and far come together to reconnect and create lasting memories. However, organizing such an event, especially for a large family, can be tricky. Here are 3 helpful tips. Create a Communication Hub Setting up a communication hub […]

Tips for Seniors Looking To Stay Mentally and Physically Active
For seniors, maintaining an active lifestyle is essential for ensuring good health and a sharp mind. Staying engaged in various activities not only enhances physical fitness but also keeps the brain stimulated and social networks robust. Whether it’s through embracing new technology, gardening, or lifelong learning, there are numerous ways for older adults to stay […]
Locate Your Nearest Bible Bookstore: A Guide to Finding Inspirational Reads
If you want to grow spiritually, spending time in Bible study is essential. To find the right books for inspiration, it’s important to locate the best Bible bookstore near me. When people want to do a Bible study on their own for personal growth, they can choose from many options. Or if they prefer group […]
From the Blog

How to Manage Screen Time for Kids
When it comes to managing screen time for our kids, many parenting blogs are telling you that finding the right balance can be a real challenge. We all want them to enjoy technology while also … [Read More...]

How to choose the right braided wig for your face shape
As a fan of braided wigs, I understand how important it is to choose a style that flatters your face shape. With so many braided wigs to choose from, it can be difficult to know which one is right for … [Read More...]

Safety Considerations for Families When Renting
Finding a new home when you need extra space for a new baby or a change of scenery can be an exciting prospect. And, of course, your family's safety is a significant priority for any rental. But how … [Read More...]

3 Ways To Make Your Home Comfortable For Bringing Home A New Baby
If you have a new baby on the way, you’re going to want to do everything in your power to make sure your home is ready for their arrival. And while this will include getting all of the necessary baby … [Read More...]